Skype is one of the most popular VoIP services around. Millions of people use it for online meetings, instant messaging and video calls. Most importantly, it’s compatible with both mobile platform and laptops.
Erasing chat histories is not enough. You need to eliminate web, system and Skype junk using an efficient system cleaner. One such utility you can rely on is the ST Cleaner, the download of which is protected by the Verisign digital certificate. Click on the button below to start downloading it:
![]()
Changing Duration of Chat History
Your Skype conversation includes your chat history, logs of outgoing/incoming Internet calls, files sent/received from contacts and voice messages. Skype stores this on the cloud — the Skype servers. It does so on your hard disk as well, depending how the Skype is configured. However, it restricts you to save your history only for just one month. And then it automatically deletes it. That’s sad. Now what you have to change duration of chat history?
Open the Skype Options dialog box by selecting Tools | Options (or press Ctrl +). Now you’ll have these options:
- Choose forever;
- No history;
- 2 weeks;
- 1 month; and
- 3 months option
Change it the way you want. Save your changes and exit.
Clearing Entire Conversation History
Several methods are available:
From the Program Settings
Click the “Clear History” button in the same dialog you used for changing duration of the chat history.
Using One-Click Skype Cleaner
ST Cleaner for Windows can delete your Skype conversation, chat history (Beware! Hackers can track your chat history and your privacy is at risk.)
This is how ST Cleaner works. In the main user interface of ST Cleaner for Windows, click “Scan”. And when it shows junks in your cache, software junks, web junks, social and multimedia junks, delete them all.
Cleaning Individual Contact Conversation
Skype has its own drawbacks like other high-tech apps. As a Skype user, beware that it doesn’t let you delete chat history of a single contact. But there’s an option exist: You can delete chat conversation of all your contacts. However, using the right tools, you can delete the chat conversation of specific contacts. Here’s how:
Remember: Shut down your Skype before taking any action. Just right click its system tray icon, and select Quit.
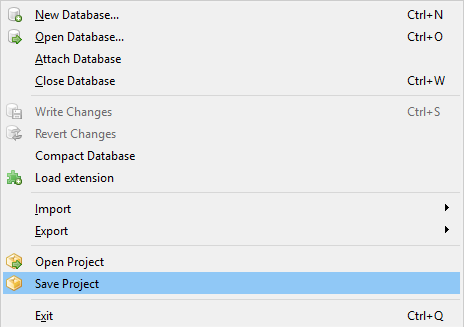
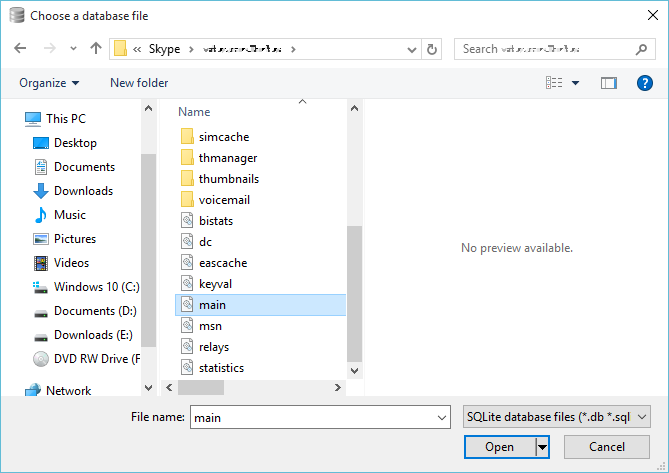
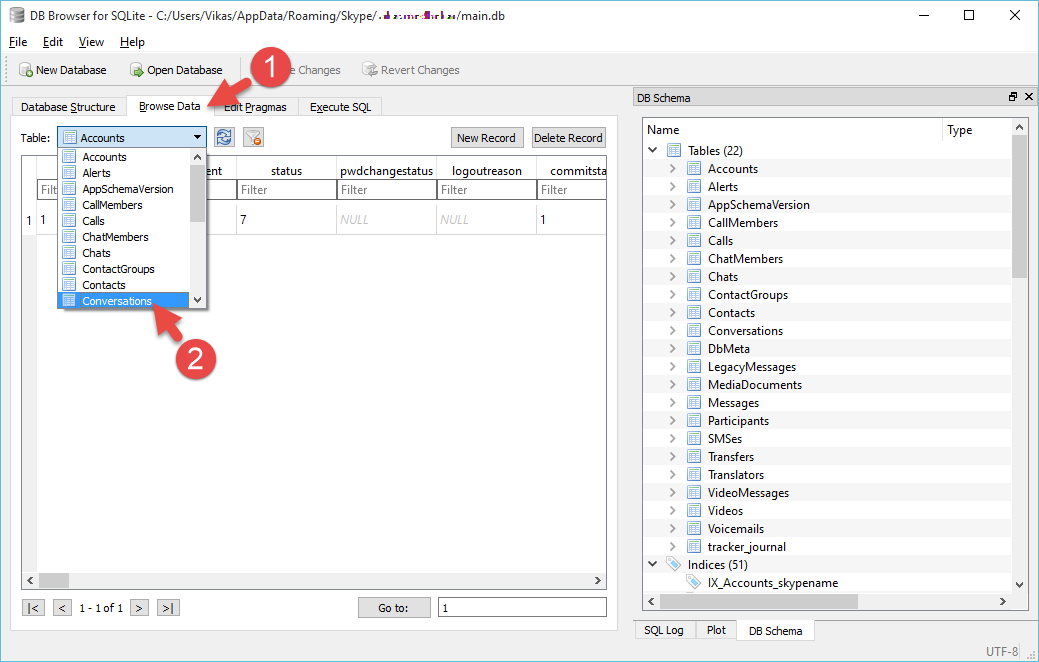
Download a small tool called DB Browser for SQLite on your Windows PC, and then open the following Skype database file from Choose a Database File dialog using Ctrl + O keyboard shortcuts:
- C:\Users\<Your_User_Name_Here>\AppData\Roaming\Skype\<Your_Skype_User_Name_Here>\Main.db
If the file path isn’t accessible, it is perhaps hidden. Try changing the hidden files settings from the View tab in the Ribbon interface of the File Explorer (previously known as, Windows Explorer). Choose view hidden files, folders.
![]()
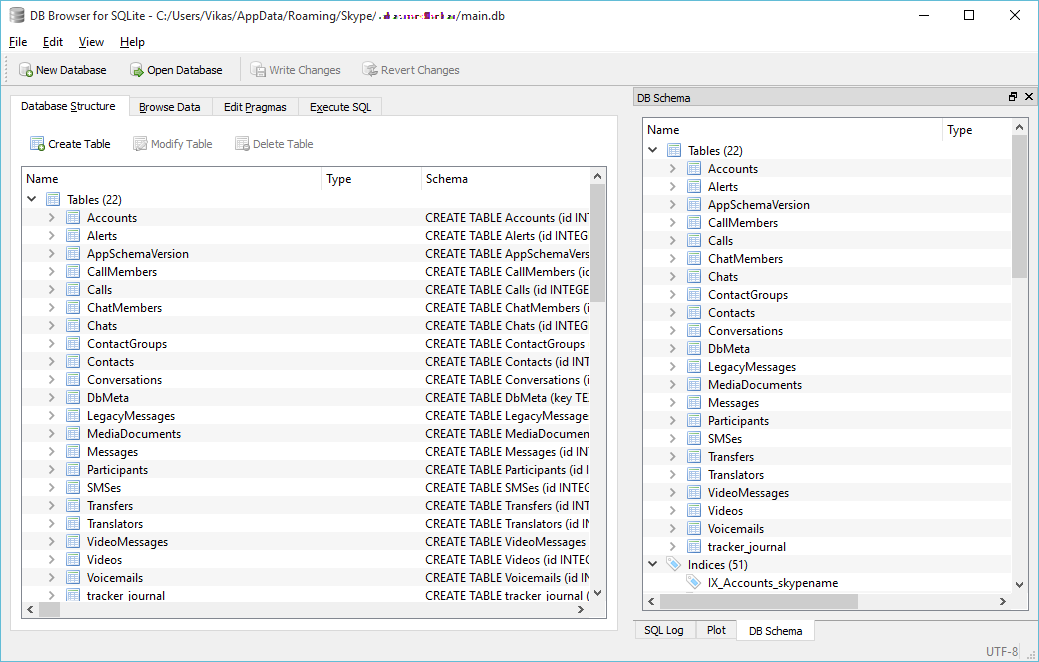
Now you should see the Database Structure of the Main.db file in the main user interface of DB Browser for SQLite tool.
Click “Browse Data” tab. It shows you individual Tables. Select “Conversations” option from the “Table” drop down box. It shows all of your conversations in a contact-wise manner.
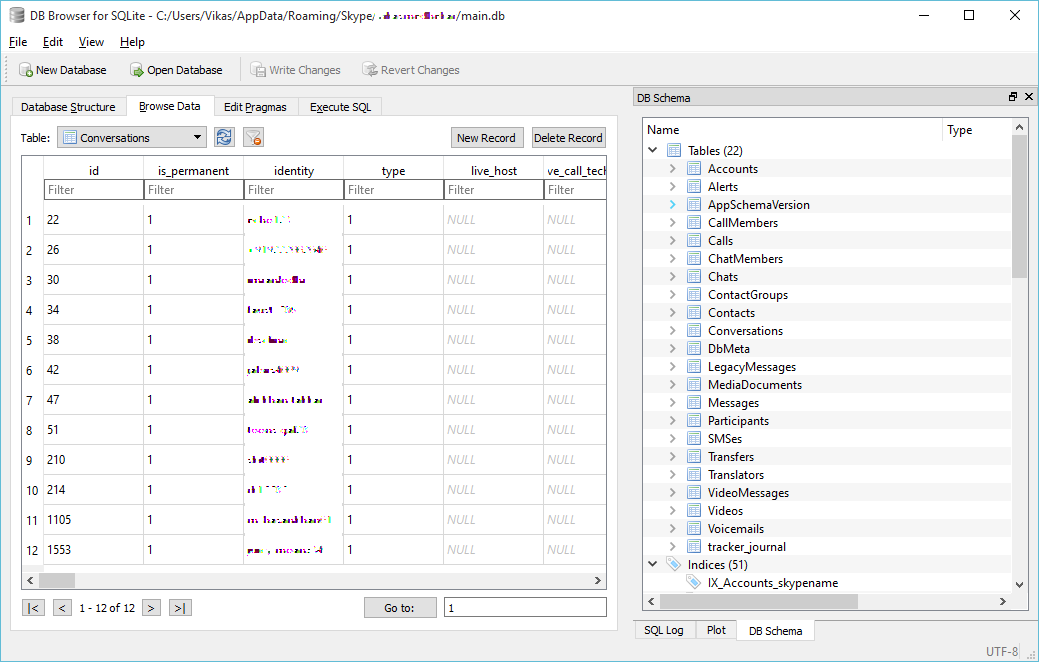
In these database entries, you should see that each Skype user has been assigned its own User ID. There are several rows and different columns [ID, Is Permanent, Identity, Type, Live Host, and so on].
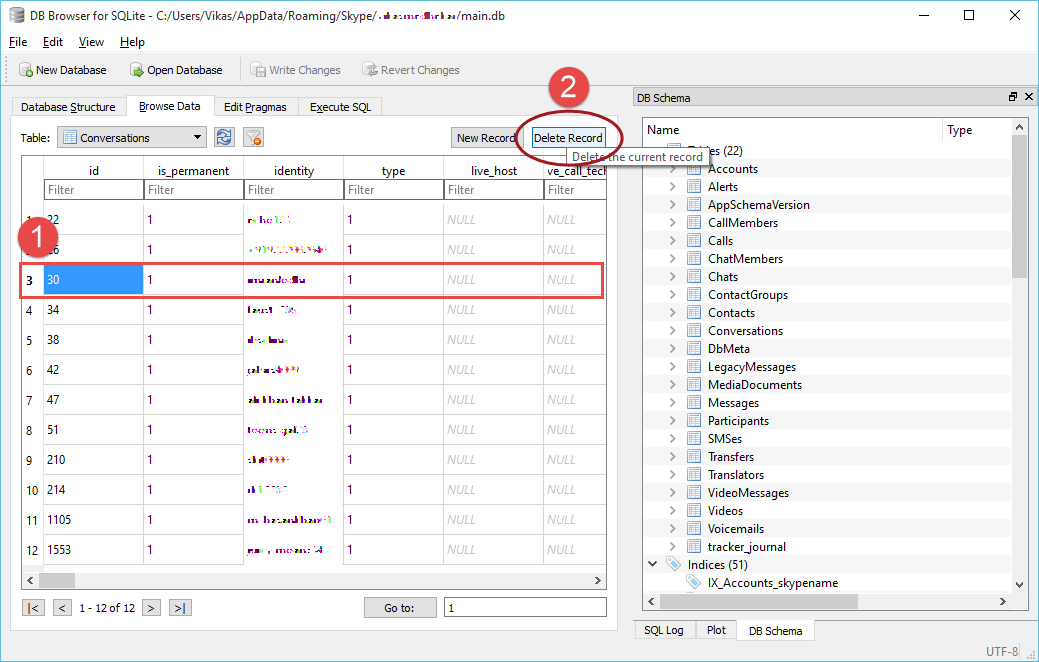
Here’s how you can delete conversation of a specific contact. Just click that particular row (Example: ROW ID 3). Click “Delete Record” button at the top right corner of the table. Did not find your contact? Just go to another page by clicking >> (Next) arrow.
Hey! Don’t forget to save any changes you’ve made in Main.db file. Load Skype.