
Dropbox is known for its decent automatic upload feature for both smartphones and PCs. In this article, we’ll demonstrate the easiest way to pull images from your Dropbox account to Google Photos effortlessly.
Before we embark on the process, let’s just take a look at how we can get rid of duplicates. It is important to delete duplicates right in the beginning so that you cut down on the time being taken to upload data to Google Photos as well as make optimum use of your storage space by ensuring no duplicates are copied.
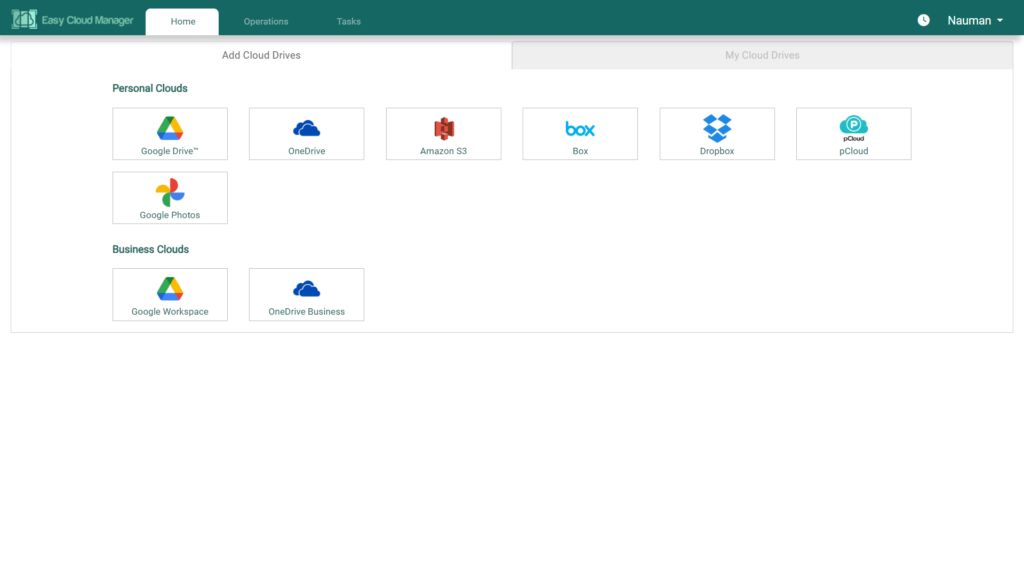
Product Spotlight: EASY CLOUD MANAGER (ECM) to transfer files across clouds. ECM uses official cloud APIs and provides amazing options to manage files on cloud. Use it free here: https://www.easycloudmanager.com/
Step # 1: Install Dropbox App
The app is required to synchronize a folder stored on local hard disk to your Dropbox account. If you already have this app, you’re one step ahead. If not, download it from Dropbox official website, and then install it on your laptop.
Step # 2: Sign in to your Dropbox A/c
Run the app that you just downloaded. You’ll be prompted to enter your log-in credentials.
Step # 3: Customize Sync Settings
By synchronizing everything, it’ll not only waste your time but also consume network bandwidth and cause space shortage. Avoid this mess; simply click Selective Sync.
Make sure you deselect the checkboxes of all non-photo items such as documents, music, videos, and archives.
Step # 4: Wait till Photos Download is in Progress
Start the synchronization process. Now your image files will be automatically downloaded in the background to your local hard disk. Wait till the process finishes.
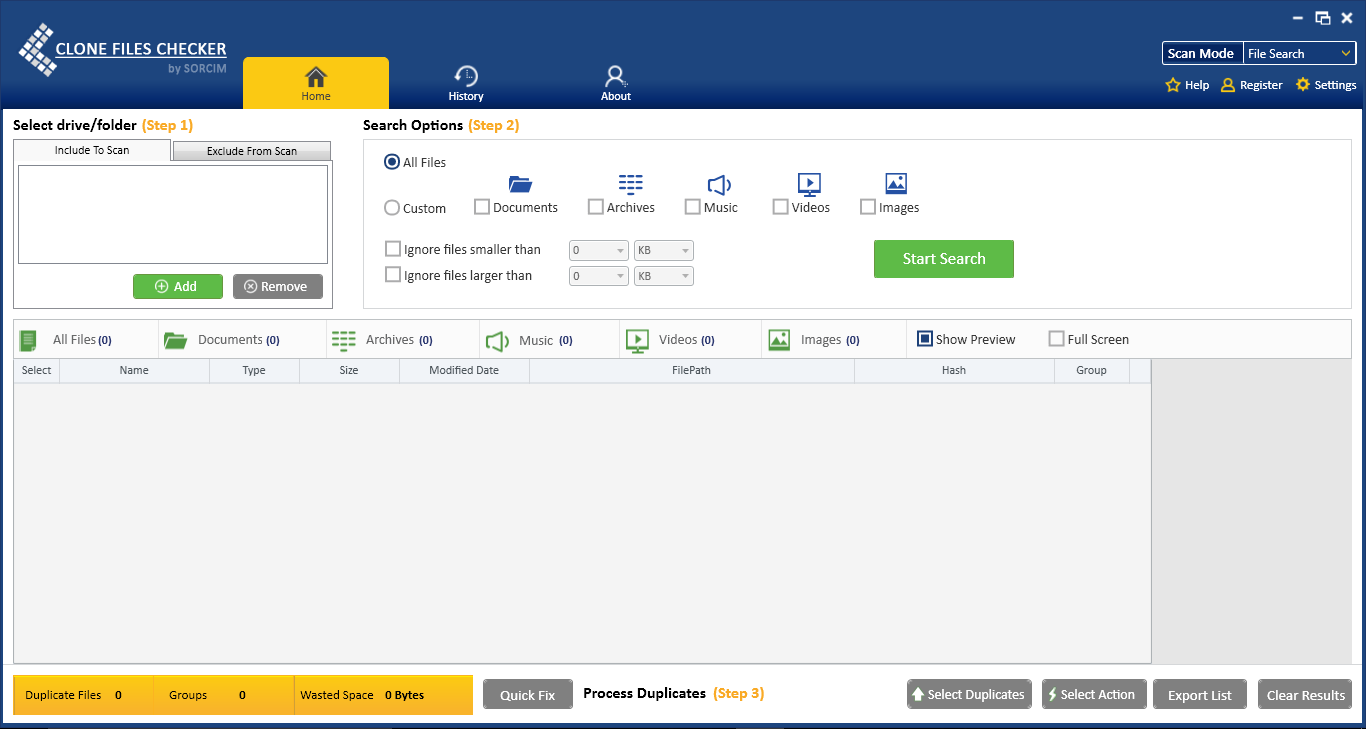
Step # 5: Use Clone Files Checker
It’s time to delete identical photos from your library to save storage space and lessen the time. Download Sorcim’s Clone Files Checker.
Step # 6: Remove Duplicate Photos to Save Storage
After installing Clone Files Checker, add the folders containing downloaded photos. Select Custom > Images, and then start the process. Now you should see two options on your screen — Quick-Fix and Review & Fix.
Quick-Fix automatically takes user specified action; whereas Review & Fix lists out all duplicate photos so that user can preview their photos before specifying any action.
You can accordingly delete dupes, move them to Recycle Bin, or to a new folder. Remember, photo backups feature saves you from accidental deletion. Use the “History” tab to restore your backups.
Step # 7: Download Google Photos Backup
Visit the Google Photos App Download Page to auto-upload your photos from Windows, storage cards or digital cameras.
Step # 8: Sign in to Google Photos
The first thing you’ll be prompted to sign into your Google Photos account.
Step # 9: Set Up & Begin Sync
By choosing the top level folder Google Photos will sync everything including subfolders. If you’re bit specific about upload, choose a subfolder containing images. Select your upload type — high quality (free) or original (paid storage), go ahead and click “OK” button to start the process.

Give it few minutes or hours depending on the size of the content. Larger the photo library, more time it will take.
Step # 10: Uninstall Dropbox
That’s it. Now you should see your Google Photos account populated with the Dropbox images. It’s safe to uninstall the Dropbox app from Settings > System > Apps & Features.