
The well-known cloud application bundle from Adobe is known to reserve a large portion of the hard disk space for their files, data and cache.
Obviously, the files can’t be removed to save the space, as they are required to function the applications installed with the creative cloud bundle properly. However, cache files can be removed without any problem, and it’s recommended to do so every once in awhile, and this tutorial teaches how to remove such files with ease. If you wish to remove junk files automatically, use the ST Cleaner software, and download it here:
Adobe Junk Files? Delete With ST Cleaner
ST Cleaner follows Google Software Principles, and is authenticated by Verisign
Solutions
Solution 1: Using the Disk Cleanup Utility
The classical disk cleanup utility bundled with Windows itself is an ideal tool for removing the temporary files left by certain creative cloud applications, such as Photoshop, Illustrator to save the hard disk space. Usually, the temporary files are removed automatically once the application is closed by the user, but when it’s not happened they have to be removed manually to regain the wasted space.
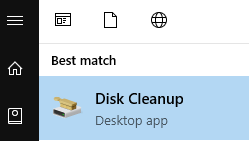
- Click on the start button to open the start menu.
- Search for Disk Cleanup utility, then select to open it.
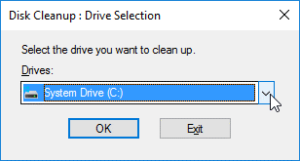
- Select the System Drive (in default C:\) to clean up.
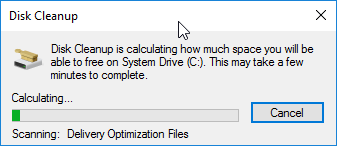
- Let it scan the system for junk files/temporary files.

Calculating the total amount of disk space to be freed up - Select all the files listed in the Files to delete panel.
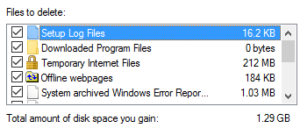
- Click OK to start deleting the junk files from the system.


Solution 2: Purging the Bridge Cache
Adobe Bridge is bundled with the Adobe Creative Cloud suite, helps to organize the files being used with other Adobe creative cloud applications, and for that, it uses a central location where the images can be viewed just as with the default image viewer in Windows. To enhance the performance, Adobe Bridge has a mechanism to store the cache files of the images. These caches contain thumbnail files, metadata information, preview, so the bridge doesn’t have to access the files whenever they are requested. Unfortunately, when there is a large number of images, and when the bridge has been used for a while, the cache accumulates to the level that it eats up a whole a lot of the space, thereby leaving little to no space to users. These steps demonstrate how to remove the caches leftover by Adobe Bridge.
- Launch Adobe Bridge Creative Cloud.
- Click on Tools from its menu bar.
- Then select Cache → Purge Cache to remove the caches stored by a particular image.

- To remove the entire cache volume, select Preferences.
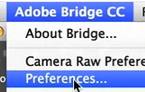
Click on Preferences - Go through the available options and locate Cache.

- Now click on Purge Cache to delete all the caches stored by the software.
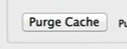
Click on Purge Cache to remove all cache contents permanently