
WordPress is a content management system widely used by across the world to publish content on websites.
The reason for the high degree of popularity enjoyed by WordPress is that it incorporates within itself a large number of helpful plugins, rolls out frequent updates and is extremely flexible to get around. However, it can still prove to be a bit challenging with regards to certain functions. This gives birth to the need for specific workarounds that do the trick without much hassle. This guide teaches the readers how to rename media files even if they are attached to a post. Since it involves renaming files, accessing the file server via FTP Manager is also required. Renaming has never been an easier task. If you wish to rename WordPress related files on the desktop, use Easy File Renamer software. It has 8+ renaming rules with cloud renaming capability. You will get a free duplicate file finder software along with it.
Rename WordPress Files on Your Desktop
Easy File Renamer is Verisign Secured
Solution
- First and foremost, visit the Media Library and note down the names of the files you wish to rename.
<YourSite>/wordpress/wp-admin/upload.php - Now switch to Plugins -> Add New to install new plugins directly from the WordPress plugin repository.
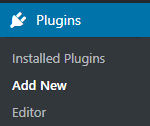
Selecting to add new plugins - Search for the plugin named Better Search Replace.

- Download, install and activate the plugin via WordPress. Since this plugin makes changes in the WordPress main database, it is strongly advised to back up the database prior to using this plugin.

Install the plugin - Now search for Regenerate Thumbnails. Download, install and activate it like you treated with the former one.


- Now that both the plugins have been installed, switch to Tools -> Better Search Replace where you can rename the media files in the WordPress database.

- Type the current name of the media file in the Search for textbox. Likewise, type the new name in the Replace with textbox. Select both the wp_postmeta and wp_posts in the Select tables options.
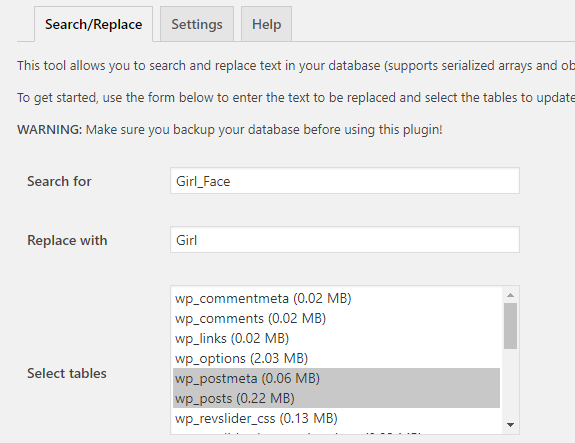
Enter the relevant information and select the mentioned tables - Click the Run Search/Replace button. The free version doesn’t provide to preview the changes, however, its still shows the number of tables to be affected once the changes are applied. Since only 2 tables have been selected, it should show only 2 changes in the Dry Run area if the image hasn’t been attached yet. If the media file is attached to any post, WordPress will show up the total number of instances it has been attached to the post(s). If everything is in the right order, uncheck Dry Run and click Run Search/Replace to make the changes permanent in the database.

Select the Run Search/Replace button - Now access the file system via any FTP Client. MobaXterm is one such good example which is very helpful. Enter in the FTP login credentials to gain access to the file server.
- Navigate to wp-content -> uploads -> <year in which the media file was uploaded> -> <month in which the media file was uploaded>.

- Locate the image/media file and rename it with the same name you used in the Replace with textbox in step # 7.

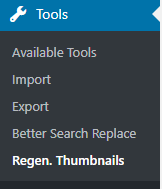
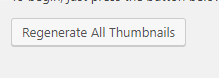
- Return to the WordPress admin panel, navigate to Tools -> Regen. Thumbnails and click on Regenerate All Thumbnails to generate thumbnails for of all the images.
Regenerating all thumbnails - If there are a large number of images, it’s better to generate a thumbnail of the respective media file only. In this case, navigate to Media -> Library, and locate the renamed media file. Now locate the Regenerate Thumbnails link and click it to regenerate a thumbnail of this particular media file only.

- Now clear the cache of the browser so that you can check out all the changes live. Press Ctrl + F5 key on the keyboard to do so in a flash.
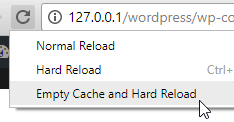
Emptying the cache and going for a hard reload