
Microsoft’s flagship Windows family has come a long way since it’s inception.
From a very basic, simple and boring interface in the earlier days, it has now evolved into an extremely user-friendly operating system that rolls out new features every now and then. This guarantees further improvements in the stability and the security of the computer. Microsoft has had to put in a tremendous amount of efforts to alter the fundamental architecture of Windows from time to time in order to make the operating system compatible with the latest hardware available at that point of time. However, changing a complex system may result in unpredictable consequences, especially if the system comprises of older hardware which have yet to sync in with the features included in the latest operating system. Although upgrading the hardware is always advisable, sometimes it does not produce results as expected by the user. This article addresses this exact issue and suggests few easy methods to solve this problem without going for any expensive hardware upgrades.
Solutions
Solution 1: Disable The Secure Boot in BIOS/UEFI
Nowadays motherboards consist of this feature known as Secure Boot which validates the OS loader in order to secure the computer from being exposed to malicious content through the modified OS loader. Even though disabling this feature may solve the problem temporary, it’s highly advised to turn it back on right after upgrading the hardware or once the problem is fixed.
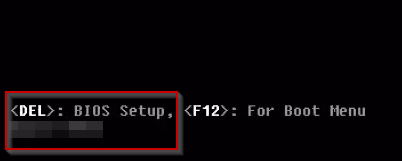
- When the system is being started up, quickly look at the bottom of the screen to find out the key to access to BIOS/UEFI. Once you’ve discovered it, quickly press that key repeatedly until the computer gets into BIOS/UEFI.

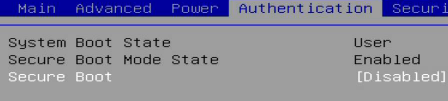
Getting into BIOS - Switch to the Authentication tab (the tab name may vary depending on the BIOS/UEFI). In some systems, you will rather come across a Security tab or System Configuration tab.
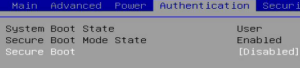
- Disable Secure Boot, and then enable Legacy Mode. If there is Hybrid Mode instead of Legacy Mode, turn it on.
Solution 2: Repair The System Startup
Since this issue is directly related to the Windows startup, the repairing startup function in the Windows Recovery Console can be used to solve it.
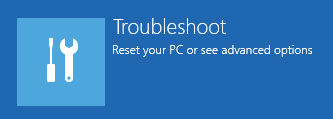
- Restart the system 3 times by pressing the restart button on the system unit (hard reboot) until the It looks like Windows didn’t load correctly message is displayed.
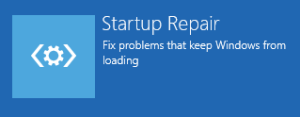
- Click either See Advanced Repair Options or Troubleshoot.

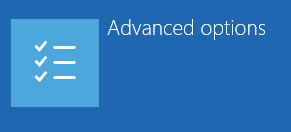
- Click on Advanced options.
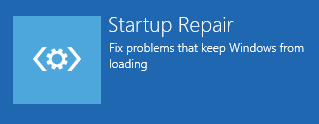
Click Advanced options - Click on the Startup Repair button.
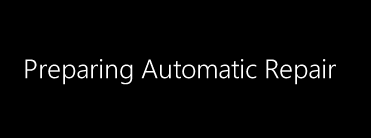
Click Startup Repair - Patiently let it initialize.

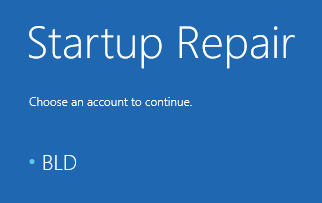
- Select the administrative account to initiate the repairing process. If it is password protected, you will be prompted to enter the password in the next phase.

Select an Account with Administrative Privileges

Solution 3: Make A Clean Installation Instead of Upgrading
Upgrading from Windows 7 to Windows 8/ 8.1 is the cause of the Selected Boot Image did not Authenticate in Windows 10 issue as the Secure Boot was introduced in Windows 8. Therefore, instead of upgrading, go for a fresh installation. Windows can be installed into the same partition, or into a different partition depending on the contents of the particular partition.
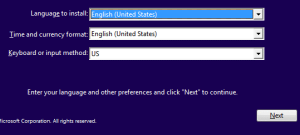
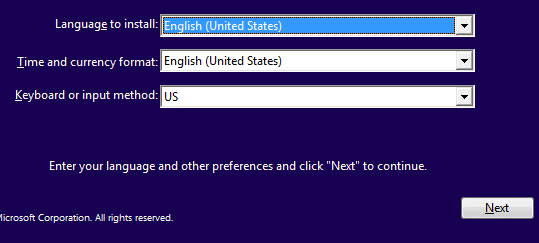
- Insert the Windows Installation media (Usually it comes as a USB pen drive or a DVD drive). If you don’t have a Windows installation media, jump to the next section titled How to Make a Windows Installation Media? to learn how to create one. However, if you already have one, insert the media and boot into it (Refer to the motherboard manual to find out how to boot into the USB/DVD drive). Press any key to access Windows startup. From the next screen, select the Language and click Next to proceed to the next phase.
- Click on Install now.
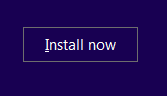
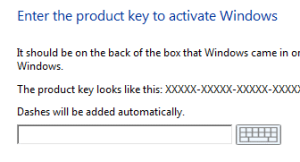
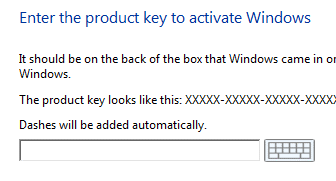
Click Install Now - Enter the product key in this phase to validate the operating system right after the installation is completed. You may choose to skip this step at this stage, but then you will have to validate Windows once the installation is complete.
Enter the Product Key - Click on Custom: Install Windows only (advanced).

- Select the Partition to install Windows on, and click Next to initiate the setup.
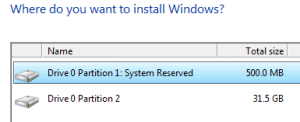
Select the Target Partition


How to Make a Windows Installation Media?
This side tutorial describes how to create a Windows 8.1/10 installation media using a USB flash drive and a DVD drive. It is strongly recommended to backup the files in the USB pen drive as Windows doesn’t warn before formatting the pen drive for writing on it. This side tutorial requires a computer system with Windows 10 installed in it.
Phase A
- Download the relevant Media Creation Toolkit from the following locations.
Windows 10: https://www.microsoft.com/en-us/software-download/windows10
Windows 8/8.1: https://www.microsoft.com/en-us/software-download/windows8 - Right-click the file and select Run as administrator.
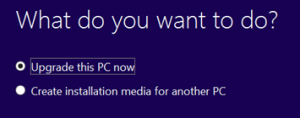
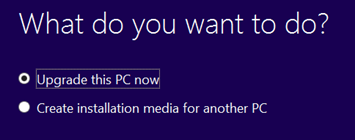
- Select Create installation media for another PC.
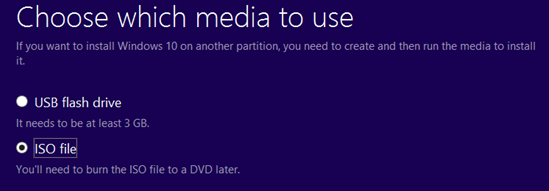
- Select either USB flash drive or ISO file.

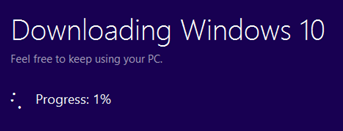
- Let the wizard completely download the installation files.

Download in Progress
Phase B
(a) If The ISO File Option Was Selected.
- After the ISO file is created, save it.
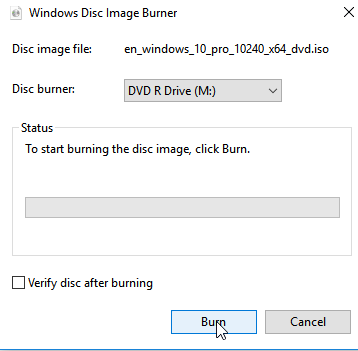
- Right-click on the ISO file and select Burn disc image.

Select Burn disc image - Select the DVD Drive from the drop down box in the following window. Select the Verify disc after burning option, and then click Burn to initiate the burning process.

Click on Burn

(b) If the USB Pen drive option was selected.
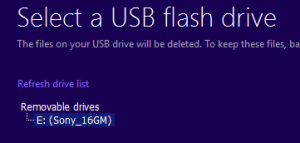
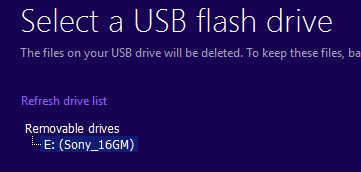
- Select the Pen drive.
Then follow solution # 3 from the beginning to perform a clean installation. The important thing to remember is that always backup the data in a separate hard drive or a partition as formatting the partition to install Windows will not just delete important files, but also make it impossible to recover them through any data recovery software.