Windows PowerShell is a command-line utility from Microsoft. It works similar to Command Prompt and comes pre-installed with the Windows 10. PowerShell allows users to perform several administrative tasks and change system settings & configurations. It is an automatic task framework that enables administrators to perform batch processing, locally, and remotely with the use of technologies like COM and WMI. PowerShell can execute scripts, functions, commands, and applications.
Delete a Directory or File
To delete a single directory or a file from your hard disk, open up PowerShell and then use the commands given below. Hit the Enter key to execute the command.
Open PowerShell
- Click the Start button and type PowerShell.
- Right-click Windows PowerShell.
- Select Run as administrator.
- Click Yes.
Deleting a Directory
- Remove-Item -path D:\Hello -recurse -force
In this command, replace D:\Hello with the directory name you want to delete.
Deleting a File
- Remove-Item -path D:\Hello\Alex.pdf -recurse -force
In this command, replace Alex.pdf with the name of the file you want to delete.
The recurse switch will automatically delete any subfolders without asking for your permission, and the force switch will automatically delete any read-only and hidden files without your consent.
Note: Don’t blindly copy-paste/ write commands into the PowerShell window. You might end up accidentally deleting your crucial files. To avoid data loss, verify the commands before executing them. We strongly recommend you back up your files first to an external storage medium such as a USB Stick or an External Hard Disk, and then disconnect/ unplug the device.
Delete Specific File Types
If you need to delete specific file types from the top-most directory, use the following command:
- Remove-Item -path D:\Hello remove-item * -include *.pdf
In this command, replace D:\Hello with your desired directory path and .pdf with the extension of the file you want to delete.
To delete specific file types from all the subfolders inside a directory, add the -recurse switch to your command. Now it should look like:
- Remove-Item -path D:\Hello remove-item * -include *.pdf -recurse
Delete Files that Contain Specific Text
The following command will delete all files that contain a specific word (office, in this case).
- Remove-Item -path D:\Hello * -Filter *office* -whatif
Remember that the -whatif switch will display all the results in front of your screen so that you can review and evaluate the files.
Delete Multiple Files
You can use PowerShell to delete as many files as you want. Simply add multiple files in a pattern separated by the comma. Here’s how:
- Remove-Item D:\Hello\USA.pdf, D:\Hello\Canada.pdf, D:\Hello\France.pdf
In this command, PowerShell will delete USA.pdf, Canada.pdf and France.pdf.
Find and Get Duplicate Files List
If you have amassed loads of duplicate files on your hard disk, you can use PowerShell to generate a list of all the duplicate files. Use the command given below to do so:
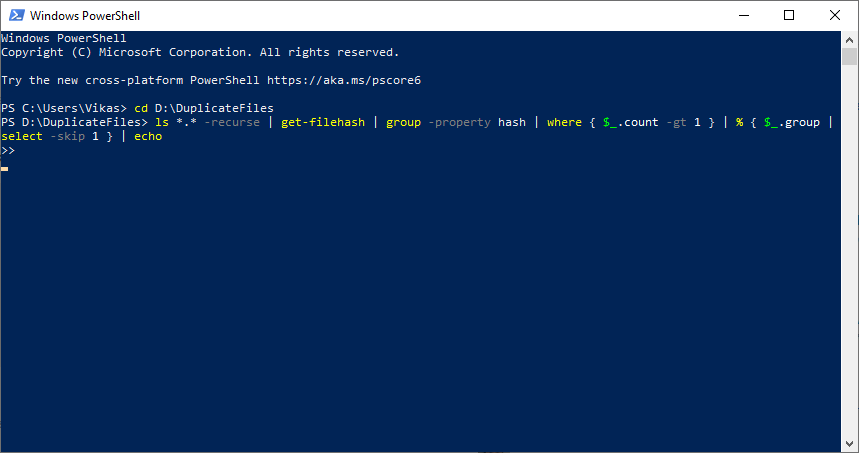
- cd D:\DuplicateFiles
- ls *.* -recurse | get-filehash | group -property hash | where { $_.count -gt 1 } | % { $_.group | select -skip 1 } | echo
Replace D:\DuplicateFiles with the directory you want to search.
PowerShell might take a long time to complete this entire job. It is safe to minimize PowerShell and use your computer while this job is going on in the background.
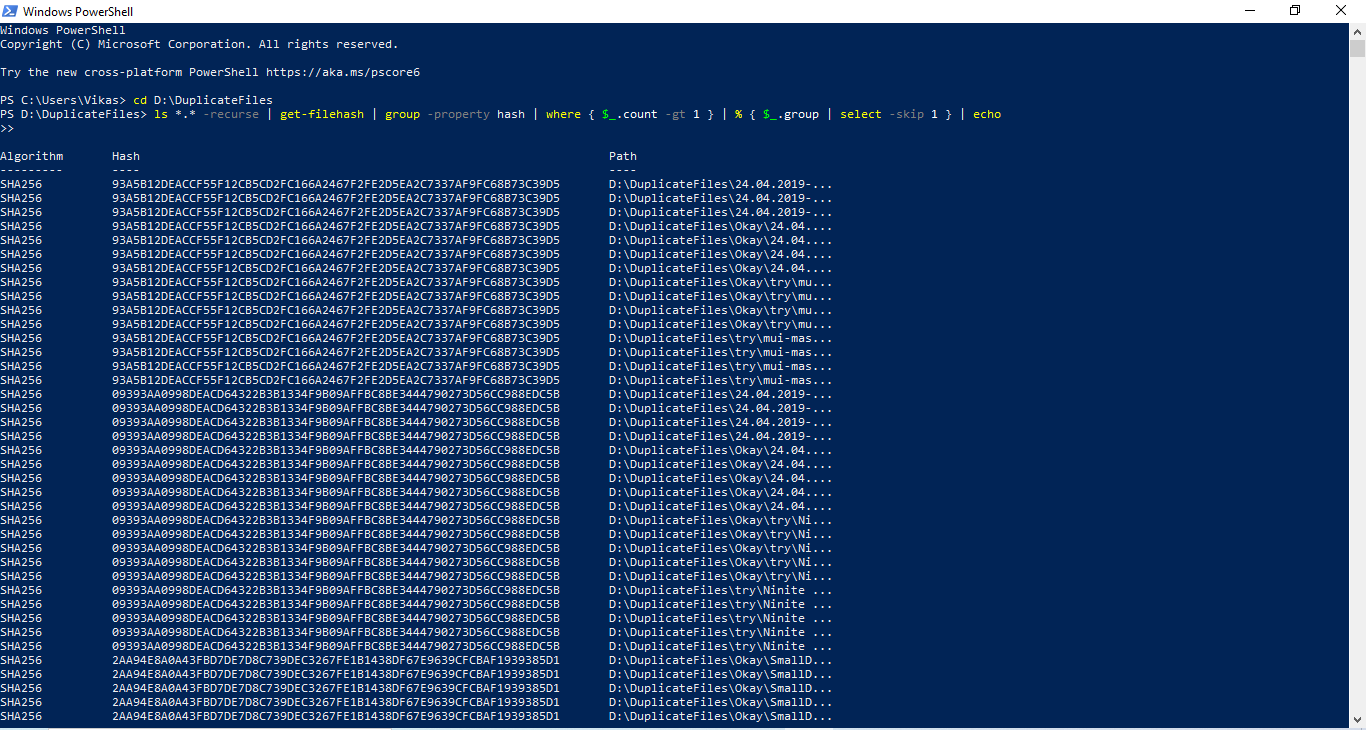
The resulting screen would be as follows. PowerShell will display a long list of your files along with their path, algorithm used and hash value.
How Does it Work?
- The CD command changes/ sets the current directory to your desired directory.
- The ls *.* -recurse switch builds a list of all files that exist in the above specified directory, including all of its subfolders.
- The get-filehash switch calculates the hashes of all files in a fixed sized bit string format. That is, your original large dataset is converted into a far shorter set of character combinations that represent the original string. Remember, two unique files can never have the same hash value but two duplicates will have the same hash value. PowerShell uses the SHA-256 hash algorithm which is one of the most reliable and secure one-way cryptographic 32-byte hash algorithms.
- Based on the above results, group -property hash switch will group files with the common hashes together.
- The where { $_.count -gt 1 } switch will select groups that contain more than 1 item. This automatically excludes all unique files and selects only duplicate ones.
- The % { $_.group | select -skip 1 } switch skips the first file in each group to retain the original file and selects only duplicate versions.
- Echo will print/ display a list of all the selected duplicate files in a three column-based format into PowerShell window.
Find and Delete Duplicate Files At Once
Once you have reviewed the list of all duplicate files, you can safely delete all duplicates at once using the following command given below:
- cd D:\DuplicateFiles
- ls *.* -recurse | get-filehash | group -property hash | where { $_.count -gt 1 } | % { $_.group | select -skip 1 } | del